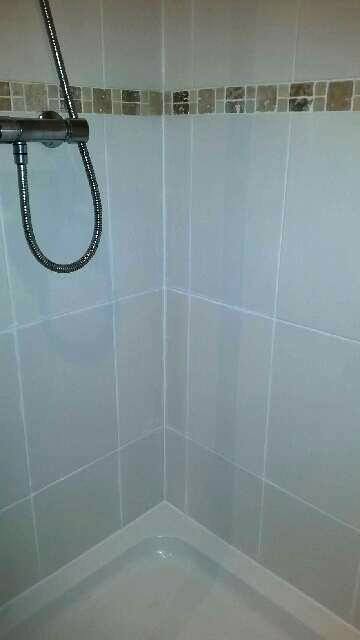
Grout Cleaning

Welcome to my Work History archive where you will find detailed examples of the cleaning and renovation of Grout carried out in Derbyshire

Cleaning and Renovating Grout

The top layer of grout is porous and can absorb grease, dirt and limescale. Spillages such as wine, lemonades or greasy substances will cause marks and patches in the joints in the floor. Grout between wall-tiles particularly in damp areas like bathrooms will become dirty and unattractive as a result of Mould, Mildew and Limescale.

Mould is one of the most unsightly problems, which usually starts off in the wettest area of the room, this could be the bottom of the shower or bath, then starts to spread and if left unchecked could cover a large area of the wall.

Another common issue we find is a problem known as Grout Haze or Grout Smearing where a thin layer of grout has been left to set on the surface of the tile. Once grout has set it is difficult to remove.

Discolouration of grout joints in bath or shower areas due to continued use of acid formulated shampoos and soaps. This causes yellow orange and pink stains to the grout over even a short period of time. Whilst Grout Joints can be cleaned, badly stained grout may need to be re-coloured.

Protecting your grout in advance with a sealer will prevent most of these issues and although relatively unknown in the UK, protection awareness is growing. Sealing forms an invisible barrier between the grout and the surface, this will then protect your investment for years to come.

We have solutions for all the problems listed above and below you will find detailed examples of work we have carried out in the past to resolve many of these issues. It should give you some idea of what’s involved and what can be achieved with the right techniques and products.


End of Tenancy Bathroom Tile & Grout Cleaning in Swanwick Derbyshire

Ceramic Tiled Shower Cubicle Refreshed for new Tenants in Swanwick

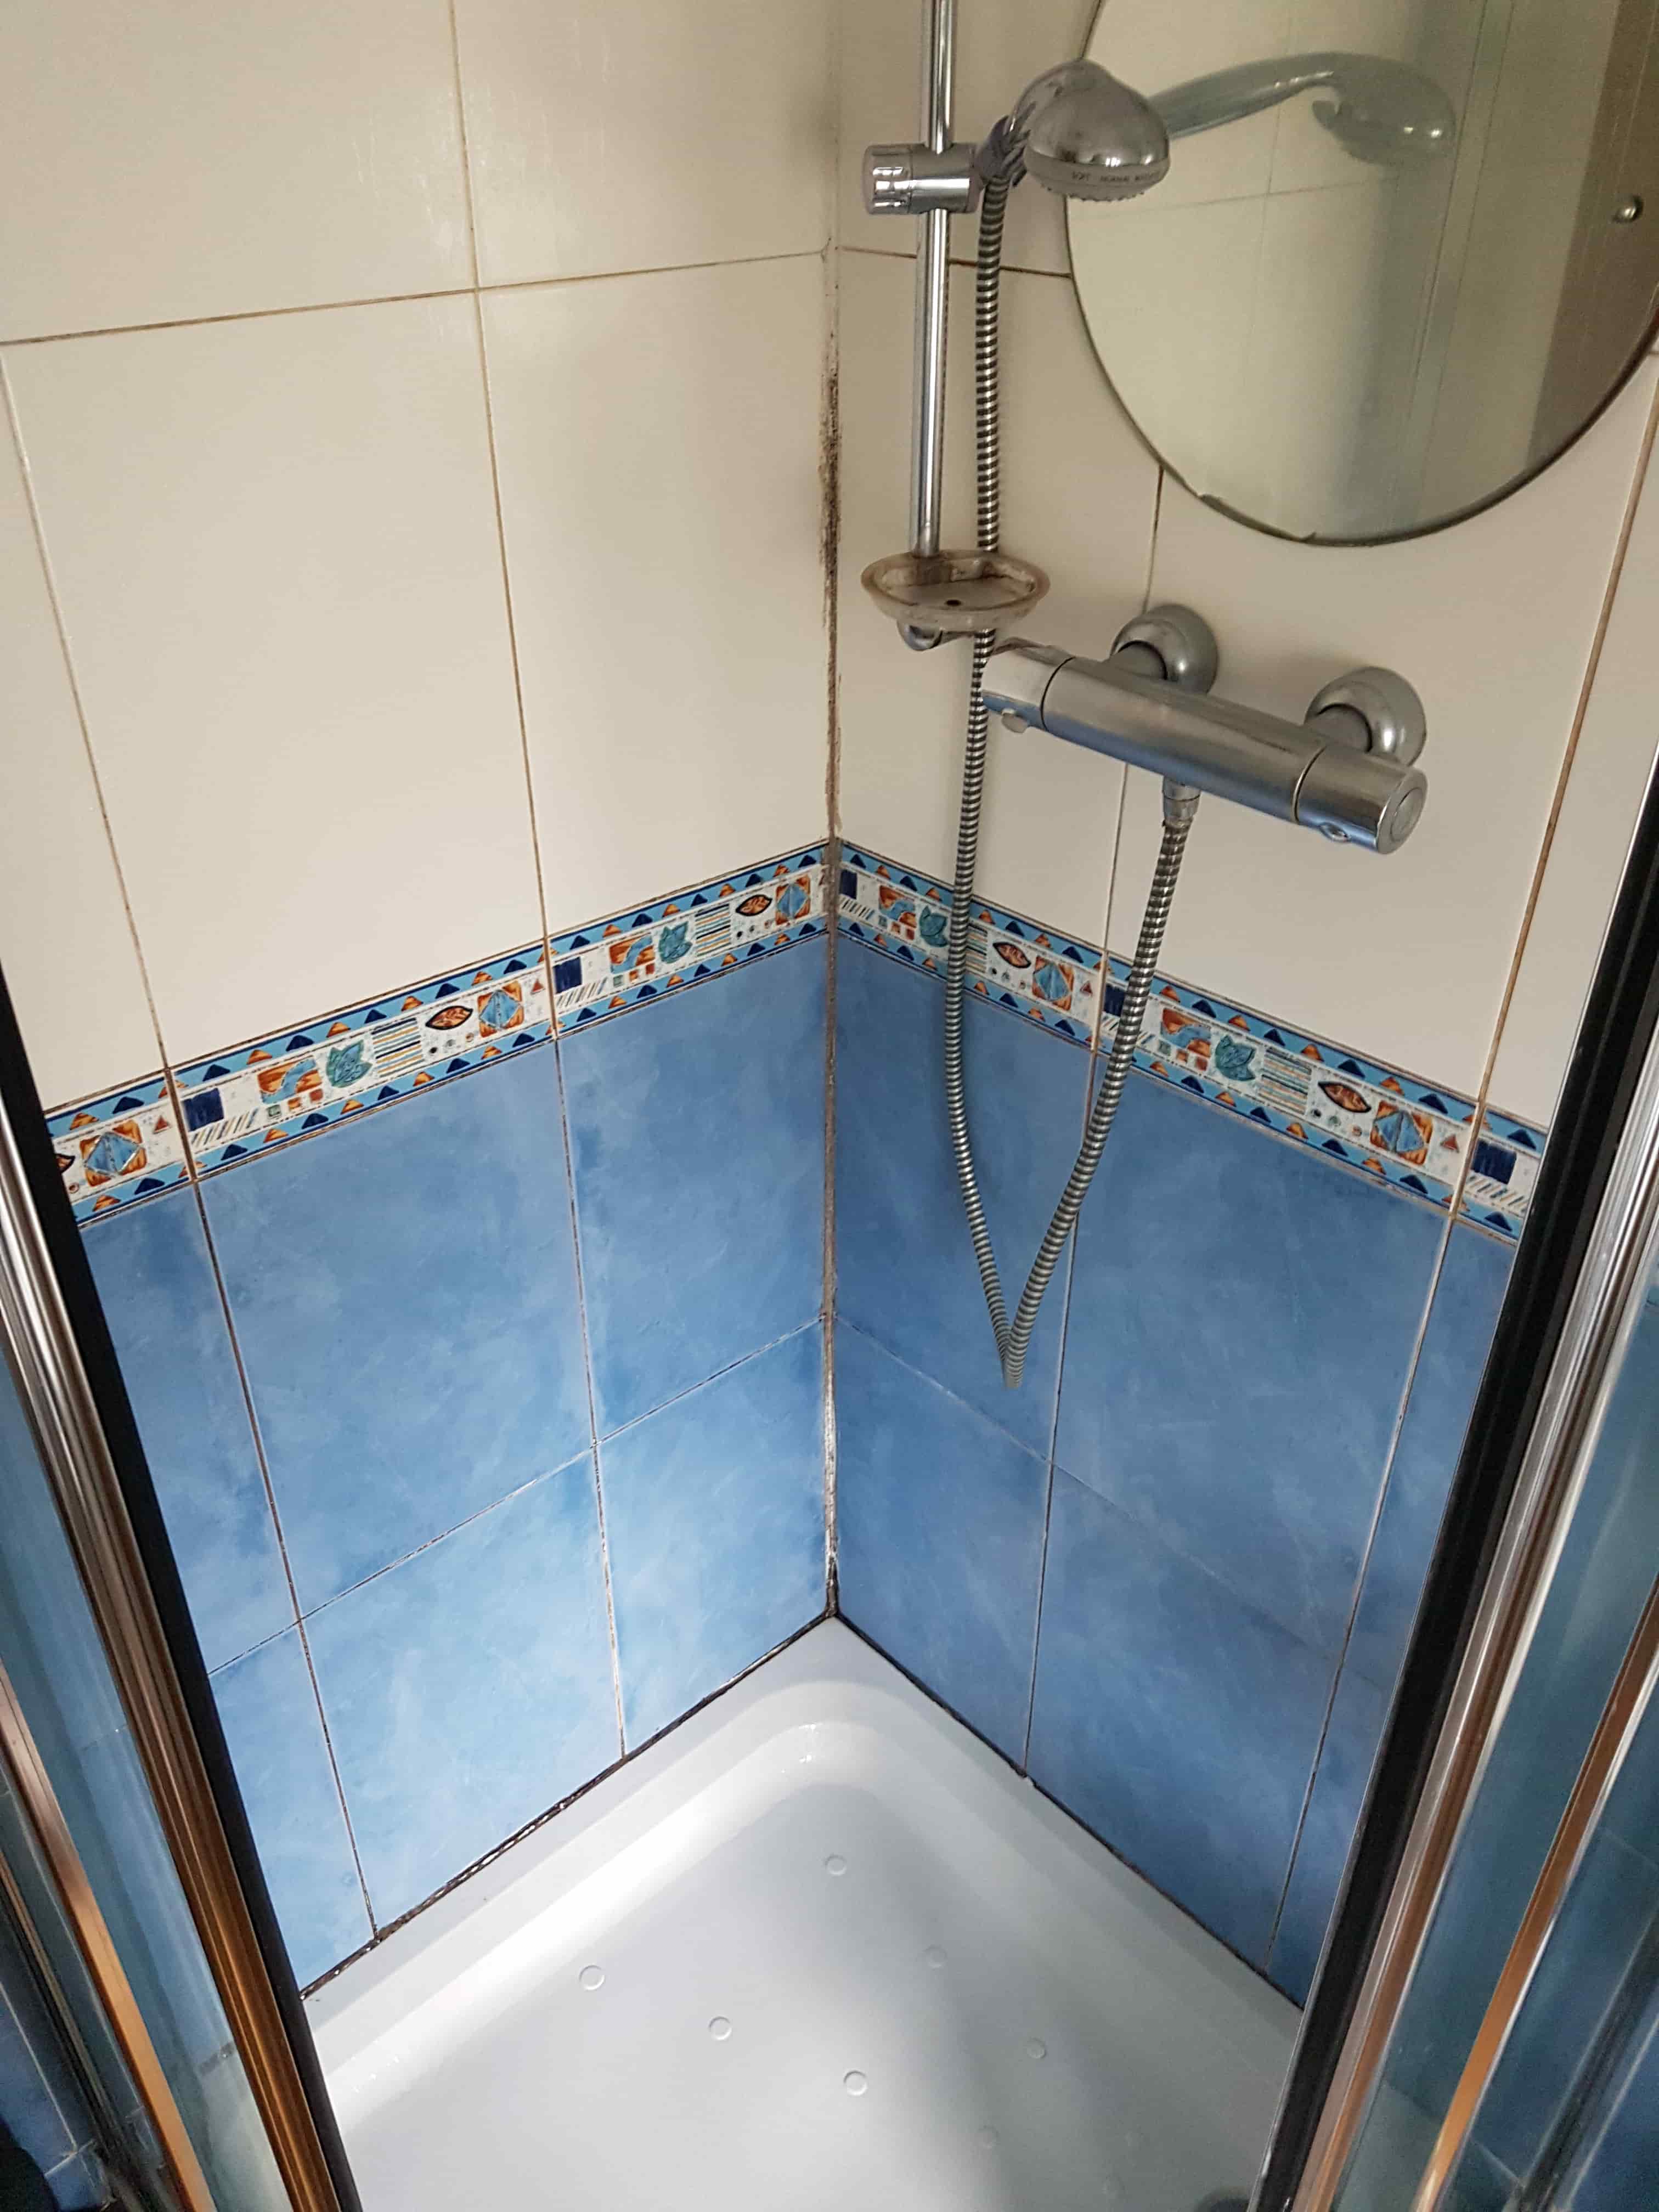
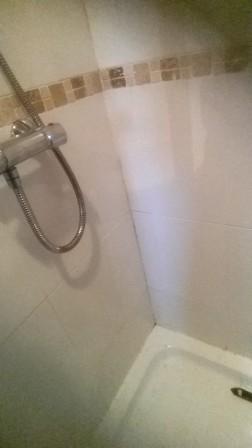
A private landlord got in touch recently to ask if there was anything that could be done to improve the tiles around the bath and shower in one of his rental properties in Swanwick just North of Ripley. There had been a long-term tenant living in the house who hadn’t maintained the area and as you can see from the photographs below the tiles were looking drab and the grout lines were heavily stained with grime, shampoo, and soap.

Ceramic Bathroom Wall Tiles Before Cleaning Swanwick Rental Property Derbyshire

When renting property out a property it makes a lot of sense to give a bathroom a facelift to ensure it’s more attractive to future tenants, not only will it rent faster but it should also command a better price, after all no-one wants to rent a place with grotty tiles!

I arranged to visit to they property to determine a plan of action and provide a quote for the work. Whilst there I carried out a test clean and was able to reassure the landlord that it wouldn’t be a problem and I was confident that the tile and grout could be renovated to a very high standard.

Ceramic Bathroom Wall Tiles Before Cleaning Swanwick Rental Property Derbyshire

Happy with the test clean and my quote my client gave the go ahead and asked for the work to be scheduled in ASAP so the search for a new tenant could begin.

Cleaning a Ceramic Tiled Shower Cubicle

I began by cleaning the grout lines with a generous application of Tile Doctor Duo Clean which is a fast and effective double action grout cleaner and mould remover. This product is designed for this purpose and comes with a trigger attachment so it can easily be sprayed onto the wall. The solution was then left for five minutes before being scrubbed into the wall tiles and grout with a scrubbing brush. This action brought out a lot of dirt and staining from the grout which was then rinsed off.

I then reviewed the wall tiles and concluded that even though they did look a lot cleaner there was some deep-seated staining in the grout that could not be shifted. I had planned for this though possibility though, given the original state of the grout it was clear to me from the start that the best solution would be to colour the grout with a White grout colourant and this had been factored into the quote.

For best results the grout needs to be further cleaned with a Pre-Treater which is a slightly acidic cleaner that prepares the grout and ensures a better bond with the colourant. This is applied to the grout and left for 5 minutes before being scrubbed in with the grout brush. It is then rinsed away with water and left to dry.

Before applying the grout colourant, I set about stripping out the silicone mastic sealant between the bathtub and wall tiles with a sharp knife; the sealant was heavily stained and damaged in places so very much in need of replacement. Once all the rubbish was swept out, I dried any remaining dampness from the grout and tiles.

Grout Colouring a Ceramic Tiled Shower Cubicle

This left the grout ready to be recoloured. I did this over the course of a few hours, using a White colourant from the Tile Doctor Grout Colourant range. White is just one of eleven colours available in the range and was chosen in this case to give the grout a really fresh look and to blend in with the White Ceramic tiles.

The application of Grout Colourant not only colours the grout joints – it also seals and rejuvenates them. It also dries quickly, so I could apply a second coat quite soon after the first, removing any excess as I went.

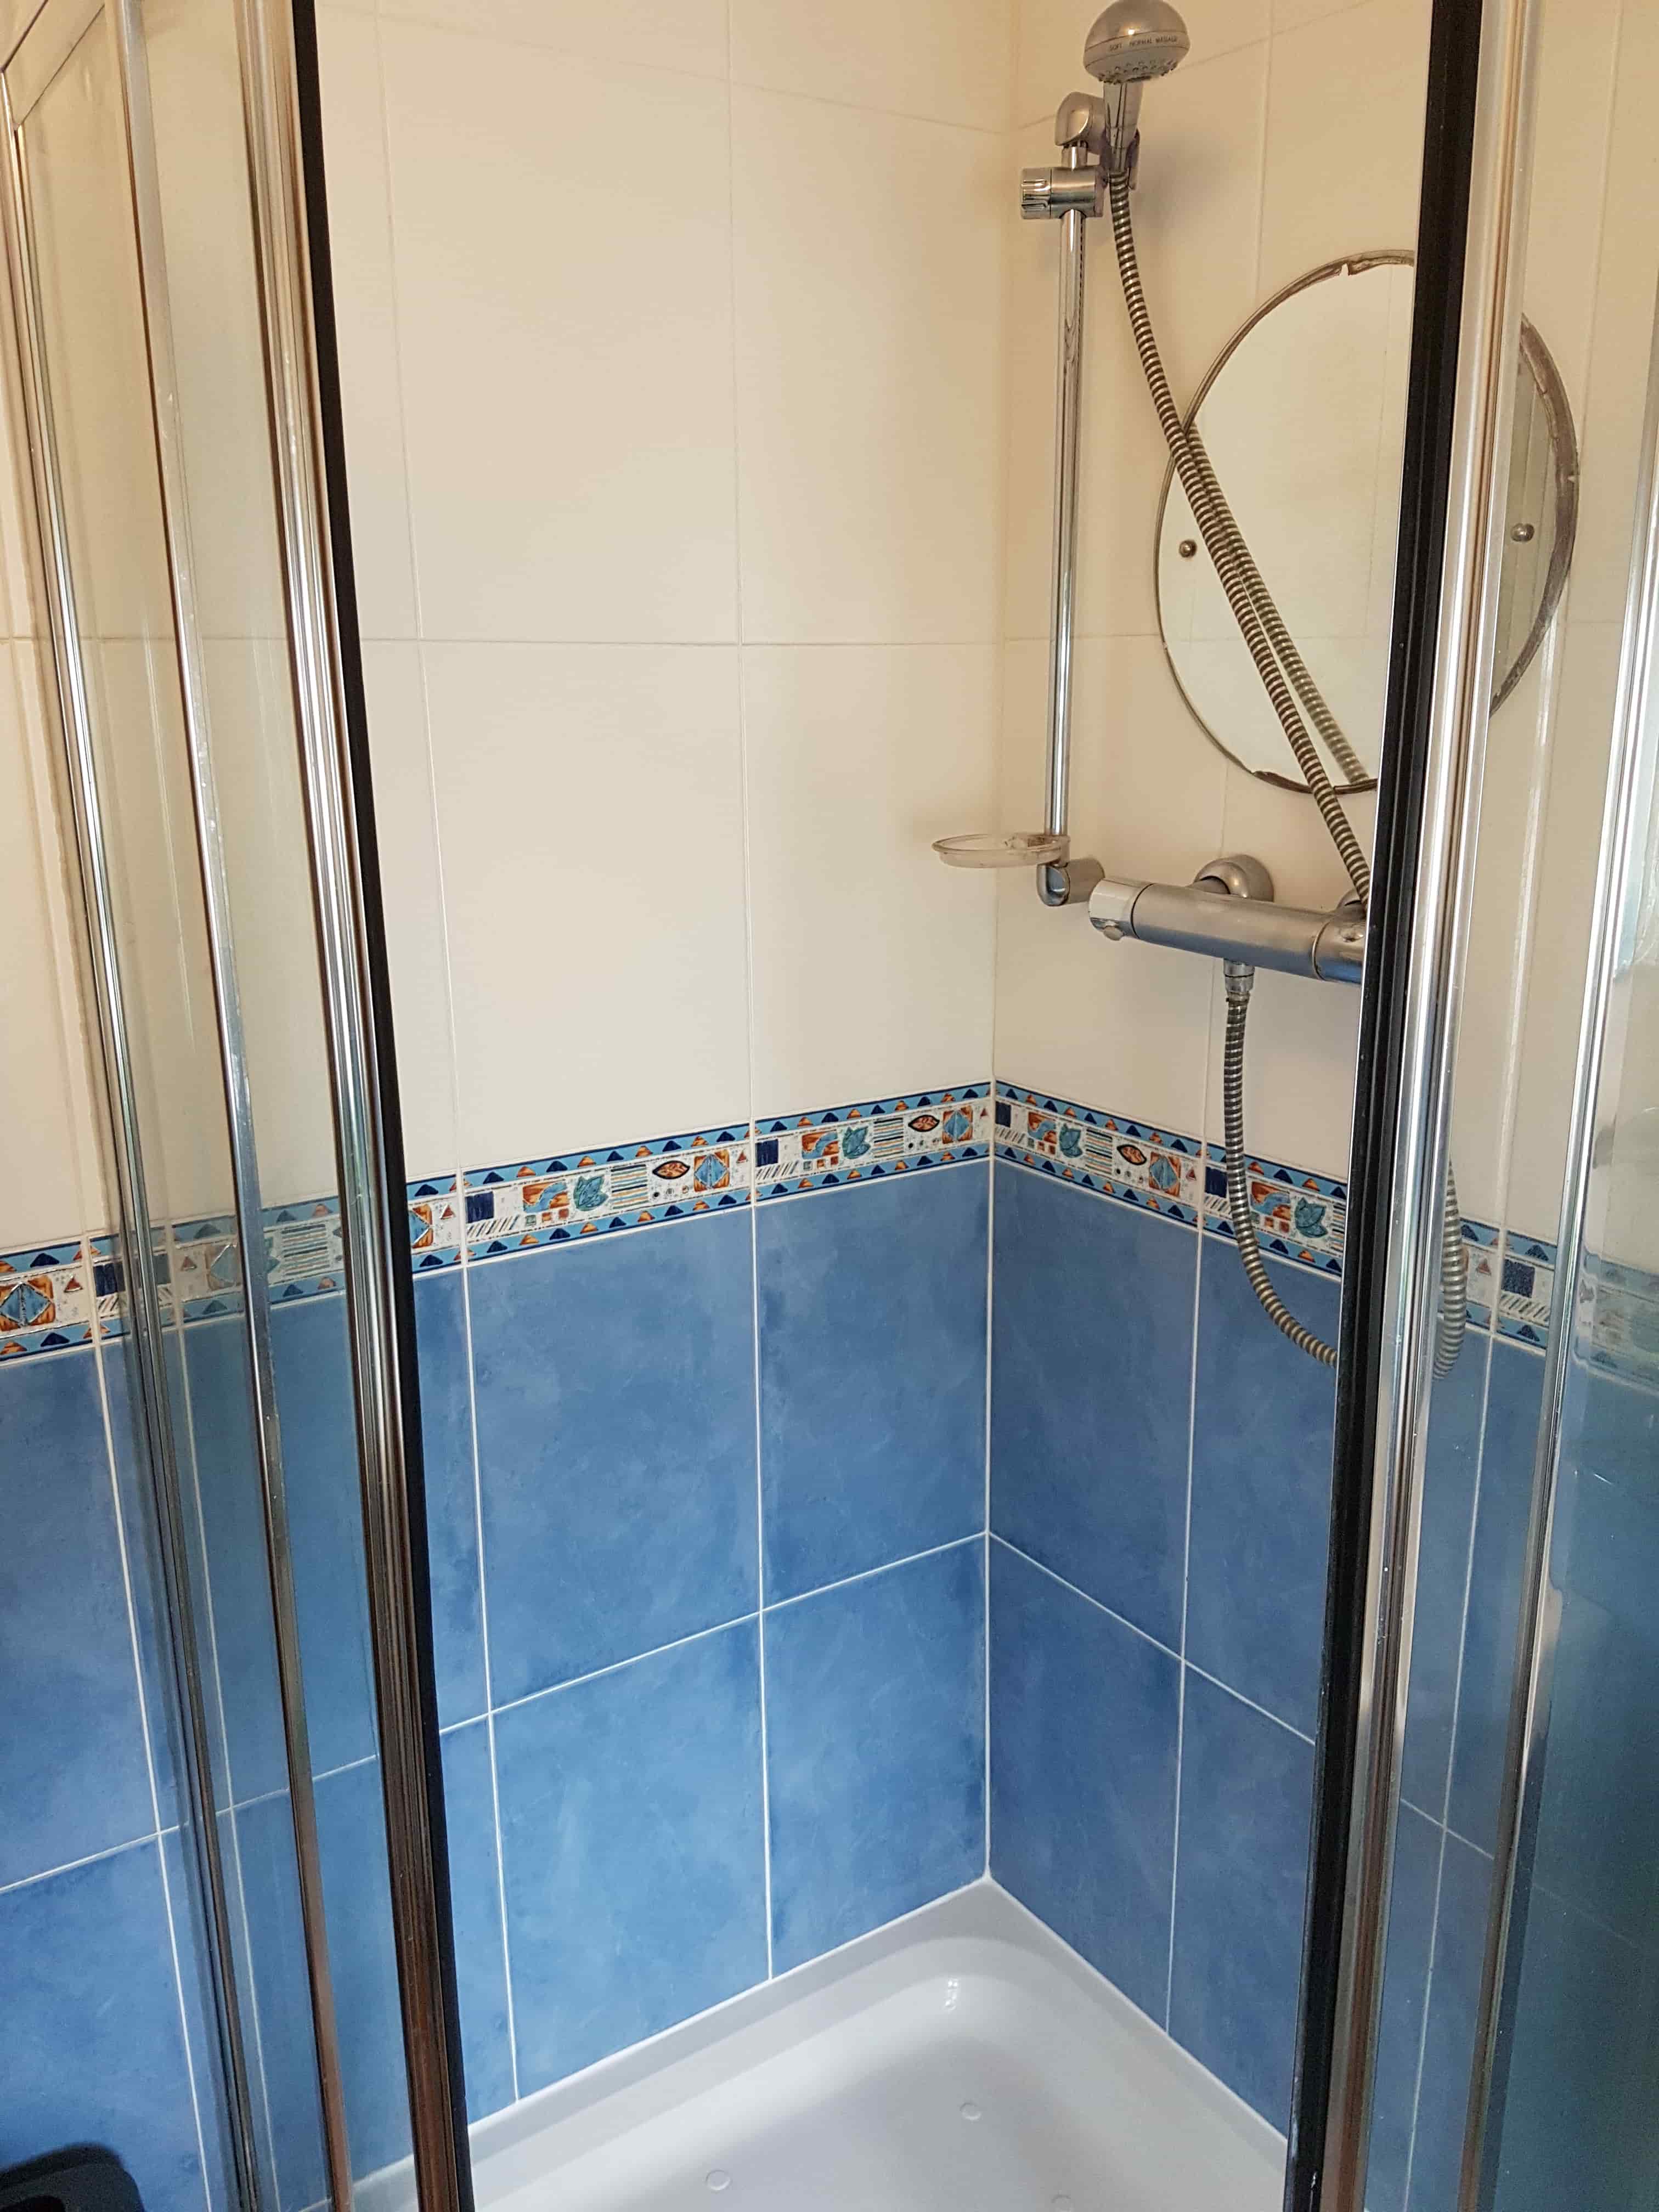
Once the restoration was finished, I resealed the shower base with fresh silicone mastic again in White to match the tile and grout. This last step finished the renovation and the result was quite a transformation.

Ceramic Bathroom Wall Tiles After Cleaning Swanwick Rental Property Derbyshire

The Landlord was delighted and so was the Letting Agent.
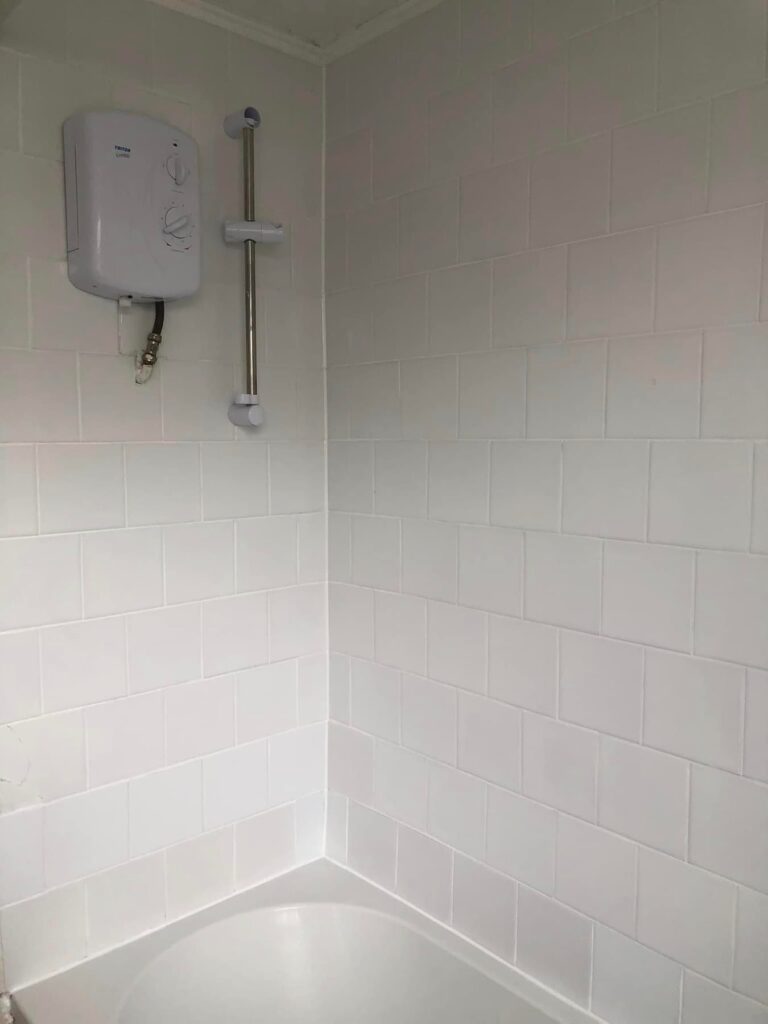
Ceramic Bathroom Wall Tiles After Cleaning Swanwick Rental Property Derbyshire


Ceramic Tiled Shower Cubicle Cleaning and Grout Recolouring in Derbyshire

Ceramic Tiled Shower Cubicle Refreshed for new Tenants in Swanwick Read More »

Shower Cubicle Before After Renovation Chapel-en-le-Frith

Shower Cubicle Cleaning Chapel-en-le-Frith

This client lives in Chapel-en-le-Frith which is a small town dubbed the ‘Capital of the Peak’ with parts of the parish lying in the Peak District National Park. They were trying to sell the house, but the shower cubicle was looking very bad and all the potential purchasers were being put off. They wanted to restore a new and fresh look, without spending a fortune, so they could finally sell it and move to their new property. With this in mind they had given me a call to come and take a look and see what could be done.

As you can see from the photos the grout was very badly discoloured in places, so I agreed with the client that the best course of action would be to clean the grout as much as possible and then recolour it with a white Grout Colourant followed by stripping off the old silicone and replacing with new. We discussed the cost and a timescale and booked the job in.

Shower Cubicle Before Cleaning Chapel-en-le-Frith

Shower Cubicle Tile Cleaning

The Tile Doctor Grout Colourant Kit comes with everything you need to change the colour of your grout including a Pre-Treat cleaner which is a slightly acidic product that cleans and etches your grout at the same time. This means you can get a better bond with the colourant when it is applied afterwards and ensures the best finish.

I set about cleaning the grout with the pre-treat cleaner which is sprayed on to the tile and then scrubbed in with an abrasive pad. This was then rinsed off with water and re-applied where necessary, some areas were worse than others and needed more work, so I persevered until I was happy the grout was as clean as it could be.

Applying White Grout Colourant

The job could be completed in one day, so the next job was to remove the silicone sealant between the tiles and the shower tray, the sealant was black with mould and dirt and generally in very bad condition.

Once the grout had dried I was able to start the application of the grout colourant using a small brush, wiping any excess off the tiles as I went. A steady hand is required for this job along with a little patience! Two coats of colourant were required to achieve the right finish.

Finally, the last step to complete was to put back a new white silicone sealant using a high-quality mould resistant product. There are many on the market, but the cheaper brands are not usually mould resistant and tend to turn black very quickly. Applying the sealant ensures the shower is waterproof and no water can get behind the tiles.

Shower Cubicle After Cleaning Chapel-en-le-Frith

The shower cubicle had a new look and my client was really surprised about the end result. They now felt more confident that potential purchasers wouldn’t be put off by a grubby looking bathroom. Thankfully it had not cost them too much to make it look a whole lot more appealing.

Shower Cubicle After Cleaning Chapel-en-le-Frith


Professional Clean and Re Grout of a Shower Cubicle in Derbyshire

Shower Cubicle Cleaning Chapel-en-le-Frith Read More »

White Grout Recoloured Natural Grey Glosso

Porcelain Tiled Floor Grout Colouring Glossop

The tiled floor shown in the photographs below are from a client who lives in Glossop which is a market town in the Derbyshire Peak District between Manchester and Sheffield. I was contacted me to see if it would be possible to recolour the grout, it turns out they had been a little disappointed with the white grout colour they had chosen and preferred the more defined look a darker grout would have given.

I went to survey the floor and could see the tiles were Porcelain which are a good choice for busy common areas as they are very tough, easily cleaned and usually don’t need to be sealed. Grout however is cementous and the top layer is porous which can allows it to be easily stained, a problem which is more evident on white grout which is therefore not the best choice for a kitchen.

Porcelain Tiled Floor Grout Before Colouring Glossop

The tiled floor area was approximately 25 square meters, but big tiles and thin grout lines would make this a reasonably quick job to complete. We agreed a cost and I arranged a date, the job would be done across two days to allow the grout time to dry after deep cleaning on day one.

Cleaning Porcelain Tiled Floor Grout

To get the best results and achieve a superior bond between with the colourant it was important to get the grout as clean as it could be. To this end I gave the grout a good scrub with a strong dilution of Tile Doctor Pro-Clean which is a stripper and degreaser that is safe to use on tile and grout and great for removing dirt from heavily soiled stone or grout.

Floor scrubbing machines can struggle to reach into the grout recess, so I find the best way to clean grout is by hand using a soft steel brush. This action cleaned up the grout well and the now soiled Pro-Clean was rinsed off the floor with clean water and then extracted with a wet vacuum. I then inspected the floor to make sure I was happy and re-treated a few areas that needed more work.

I wanted the grout to be bone dry before applying the grout colourant so after cleaning the grout I left and agreed to come back the next day to complete the job.

Grout Colouring a Porcelain Tiled Floor

When I arrived in the morning I could see the grout was fully dry and ready to be recoloured. Because I needed to recolour from white to natural grey I only needed one thick coat of Natural Grey grout colourant which was carefully applied with a small brush and any excess wiped off the tile as I went along. In fact, even after retouching I found that with such narrow grout lines and large format tiles I only used half a bottle of natural grey colourant to complete the job.

Porcelain Tiled Floor Grout After Colouring Glossop

The job was all complete and the floor looking completely different. The client was over the moon with the finish and we had achieved exactly what they were looking for. The grout colourant also forms a barrier over the grout sealing it in and so they will find this floor is very easy to keep cleaning going forward.


Recolouring White Grout to Natural Grey in Derbyshire

Porcelain Tiled Floor Grout Colouring Glossop Read More »

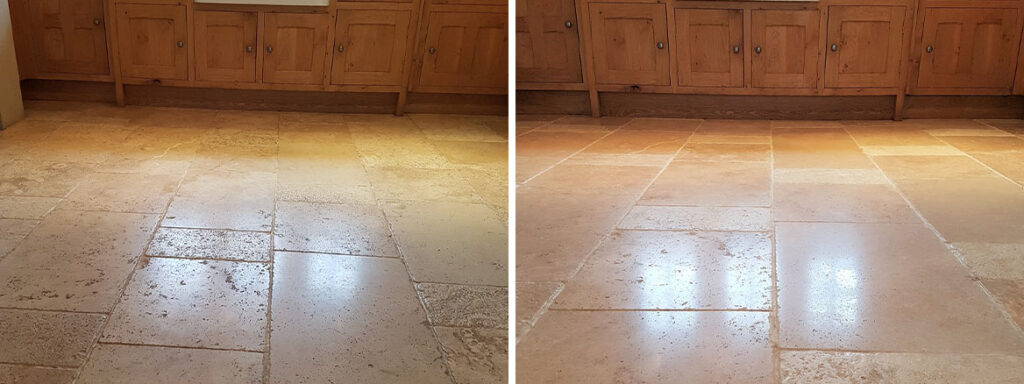
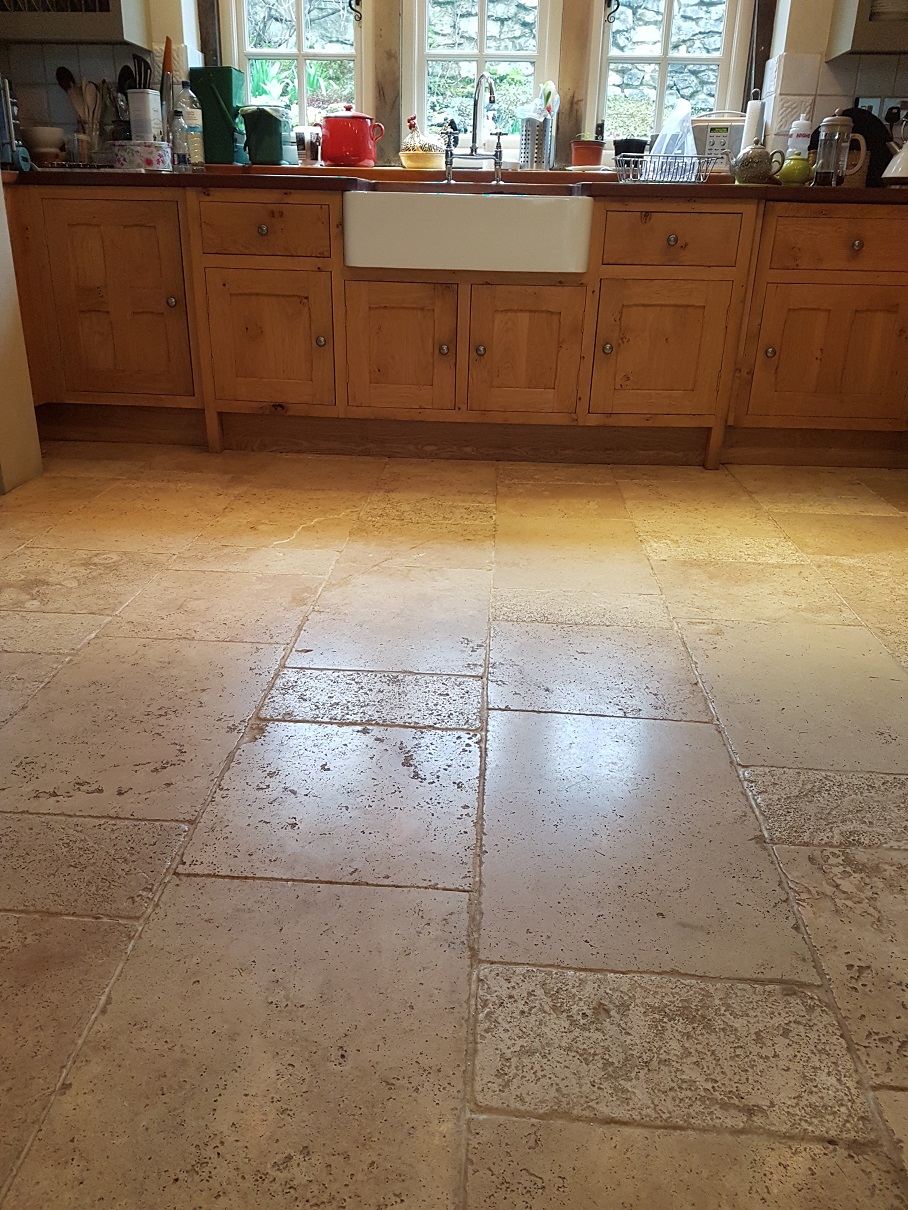
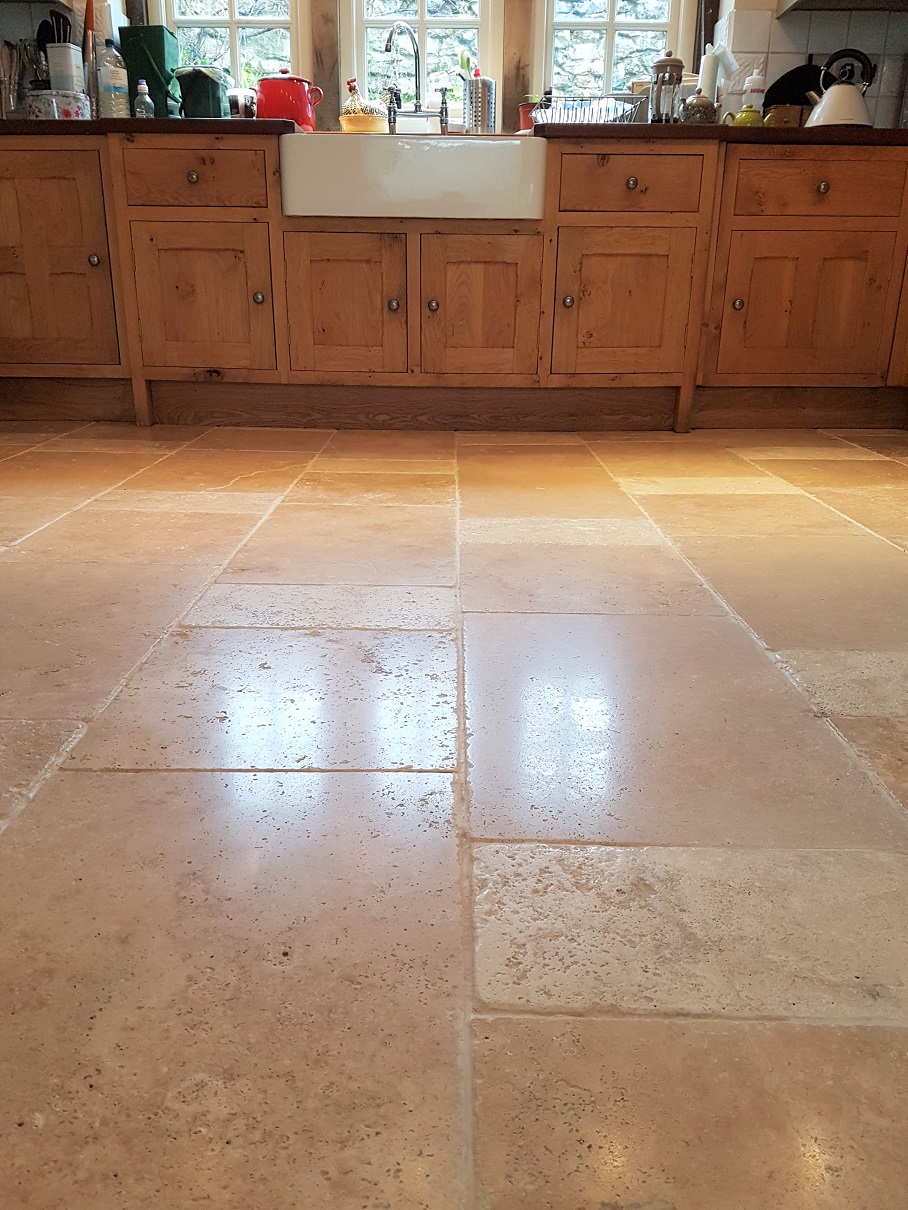
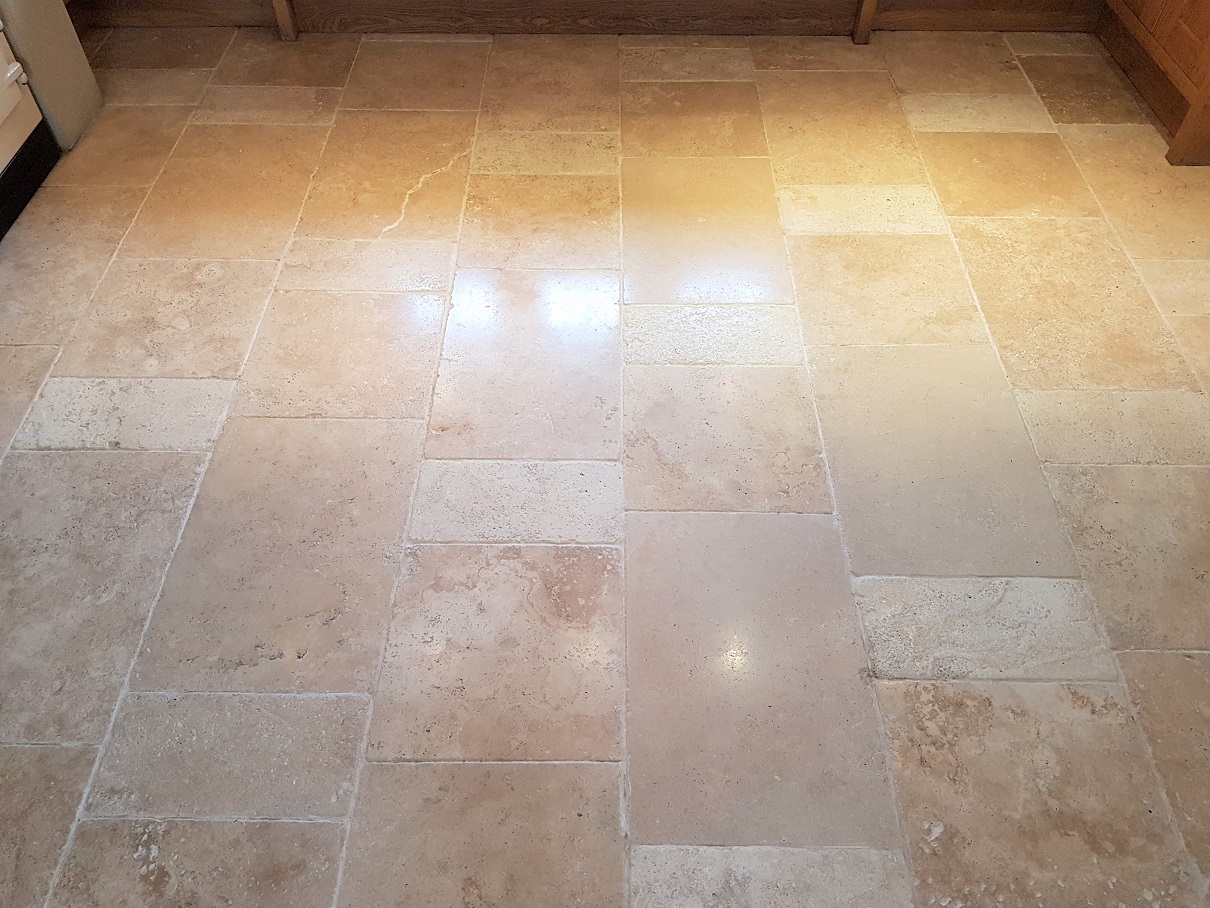
Travertine Kitchen Floor Before and After Cleaning Parwich

Dirty Travertine Kitchen Floor Deep Cleaned and Polished in Parwich

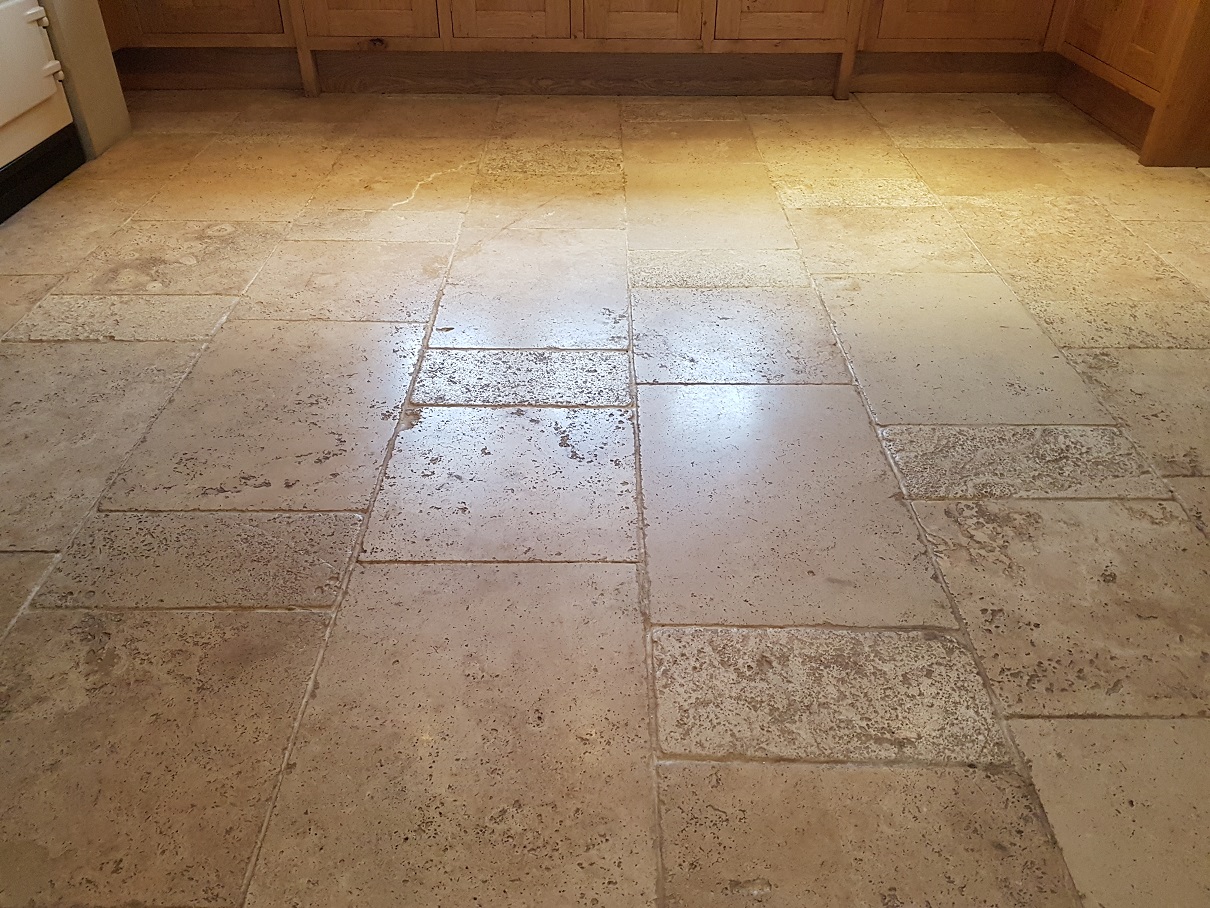
A few years ago, my client moved into a house in the village of in Parwich which sits in the Derbyshire Peak District. They had good methods for cleaning but complained that the Travertine tiled kitchen floor never actually looked clean afterwards. The main problems were the grout and the holes in the Travertine tiles both of which attracted dirt and proved difficult to clean effectively.

Travertine Kitchen Floor Before Cleaning Parwich
Ideally, they would like the Travertine to have a sheen finish, so I went over to take a look, discussed what treatment could be done to get the floor looking its best and showed them some examples. We also discussed the different types of sealers that could be applied to protect the floor once it had been cleaned. They were happy for me to do the work, so we agreed a date for my return.

Travertine Kitchen Floor Before Cleaning Parwich

Deep Cleaning and Polishing Travertine Kitchen Tiles

When I returned my first task was to add protection to the beautiful wooden kitchen, so it wouldn’t get splashed during the cleaning process. Once that was done I set about burnishing the stone floor with a set of diamond encrusted pads fitted to my rotary buffer machine running as slow speed. I started with the coarse 400-grit pad lubricated with water and then after running it over the whole floor I rinsed off the resultant residue with water which was then extracted with a wet vacuum.

The next step was to get the grout clean and for this a ran a strong dilution of Tile Doctor Pro-Clean along the grout lines and then scrubbed it in by hand using a stiff grout brush until I was happy with the result. Pro-Clean is our go to product for grout cleaning and being alkaline based its safe to use on all types of tile and stone. The now soiled cleaning solution was rinsed off with water and then extracted as before using the wet vacuum.

This burnishing process was then continued using an 800-grit and then a 1500 grit burnishing pads, again with water to help lubricate. These medium and fine pads slowly start to build the polish back on the stone and close the pores. As before water was used to rinse off the residue and the vet vacuum used to get the floor as dry as possible afterwards.

The last pad in the set of four Burnishing Pads is the very fine 3000-grit pad and this pad is applied dry with a small amount of water sprayed onto the floor as you go, we call this process a spray burnish and it really adds the nice subtle sheen the customer was looking for.

Sealing a Travertine Tiled Floor

The last step in the renovation process was to seal the floor with a suitable sealer which will protect the Travertine from staining going forward and make the floor much easier to clean.
Having discussed sealers with the customer at the beginning the choice was clear and two coats of Tile Doctor Ultra Seal were applied to the floor. Ultra-Seal is a premium product that soaks into the pores of the stone protecting it from within but without enhancing the look of the stone in anyway.

Travertine Kitchen Floor After Cleaning Parwich
It’s probably difficult to appreciate the full difference from the photographs above by my customer was very happy with the improvement and they now have the floor looking the way they wanted.

Travertine Kitchen Floor After Cleaning Parwich
 

Professional Restoration of a Dull Travertine Tiled Kitchen Floor in Derbyshire

Dirty Travertine Kitchen Floor Deep Cleaned and Polished in Parwich Read More »

Deep Cleaning a Shower Cubicle In Ramsbottom Before and After

Grout Cleaning and Recolouring for a Stained Shower Cubicle in Ramsbottom

Many homeowners will be able to relate to this post about tiled shower cubicles which can become mouldy, grubby, and just plainly unappealing to look at. The reality is that dirt, mould, and stains can be quite easily removed with the right products if addressed on a regular basis. However, many busy homeowners simply don’t have the time, and subsequently the mould problems gradually worsen over time. This is what had happened at this property in Ramsbottom (a town known for its annual Chocolate Festival) – the customer’s Ceramic tiled shower cubicle had not been adequately cleaned in a long time, resulting in severe staining that would prove impossible to remove entirely.

Deep Cleaning a Shower Cubicle In Ramsbottom Before
When the customer contacted me after finding Tile Doctor over the internet, I suggested that I could provide the grout with the best clean possible before re-colouring the grout with a white Grout Colourant to hide the staining and it back to looking similar to its original condition. The customer agreed that this would be the best course of action, and booked me in to complete the work.

Deep Cleaning a Shower Cubicle In Ramsbottom Before

Cleaning Ceramic Tiled Shower Cubicle Grout

The first step in the restoration was to get the grout ready for the new Grout Colourant to be applied. This involved cleaning the grout with Tile Doctor Pre-Treat Cleaner, which successfully removed the various dirt, soil, soap scum and hard water deposits that had built up after plenty of exposure to acidic shampoos and soaps. Getting the grout joints clean allows the colourant to form a better bond with the grout.

The Pre-Treat Cleaner was sprayed onto the grout and left to dwell for roughly five minutes before being agitated with a grout brush. Next, I rinsed the grout with water and removed the old and mouldy silicone around the shower cubicle.

Colouring Grout and Siliconing for a Ceramic Tiled Shower Cubicle

After running tests I discovered a few damp issues, but these were quickly resolved with the help of my heat gun. With the grout now ready to be coloured, I applied two coats of Tile Doctor’s white Grout Colourant, allowing the first coat to dry before applying the second.

Deep Cleaning a Shower Cubicle In Ramsbottom After
The Grout Colourant is an epoxy-based product that seals and rejuvenates the grout, protecting it against future staining and making it easy to clean in the future. After completing the grout colouring I cleaned up the area – including removing any excess product – and then applied fresh silicone in a matching white around the base of the shower cubicle.

Deep Cleaning a Shower Cubicle In Ramsbottom After
As you can see from the photographs, the appearance of the shower cubicle was transformed by the new Colourant. My customer even left the following comment on the Tile Doctor feedback system:

“Tony was polite punctual and efficient. We are very happy with his work!”

Dirty and Stained Ceramic Tiled Shower Cubicle Restoration in Derbyshire

Grout Cleaning and Recolouring for a Stained Shower Cubicle in Ramsbottom Read More »

=================================

Derbyshire Tile Doctor

================================= Read More »

Scroll to Top