Ceramic Tile Cleaning

Welcome to my Work History archive where you will find detailed examples of Ceramic Tile and Grout Cleaning/Renovation work carried out in Derbyshire

Cleaning Ceramic Tiles

Ceramic tiles are usually fully glazed and so do not have any pores that dirt can become ingrained into, because of this they are easy to clean with Tile Doctor Neutral Cleaner and are generally low maintenance. Textured ceramic tiles however are one exception, they have a rough surface in order to make them less slippery and are often used around wet areas such as swimming pools. Dirt is easily trapped in the textured surface and to get these clean requires a more intensive clean ideally using a rotating scrubbing pad.

Due to their low maintenance we rarely get called to deep clean Ceramic tiles however grout is a different case. The top layer of grout is actually porous and due to it being recessed we find when they are mopped it leads to a build-up of dirt on the grout causing it to discolour. This can be resolved using Tile Doctor Pro-Clean and then once clean and fully dry, seal the grout with one coat of Tile Doctor Ultra-Seal using a pipette.

Ceramic tiles are used a lot in bathrooms and shower cubicles where again we find it’s usually the grout or silicone sealant that discolours before the tiles do. In these cases we often find the appearance can be greatly improved with the use of a Grout Colourant and replacement of the silicone.

Below you will find detailed examples of work we have carried out in the past, it should give you some idea of what’s involved and what can be achieved with the right techniques and products


Bathroom Tile Grout Renovation Matlock Bath

Bathroom Grout Recolour, Repair and Silicone in Matlock Bath

I arranged to visit a property in the Derbyshire Dales village of Matlock Bath, to renovate the Ceramic bathroom tiles and grout. This is a beautiful area in the Peak District and consequently very popular with tourists.

I could see there was damage and missing grout to some areas of wall tiling, and this was resulting in damp staining to the hall ceiling below. The grout that was there was heavily stained even though it was only 2 years old. The client couldn’t understand why it had gotten so bad. I reassured him I could resolve the issue and get it looking like new again.
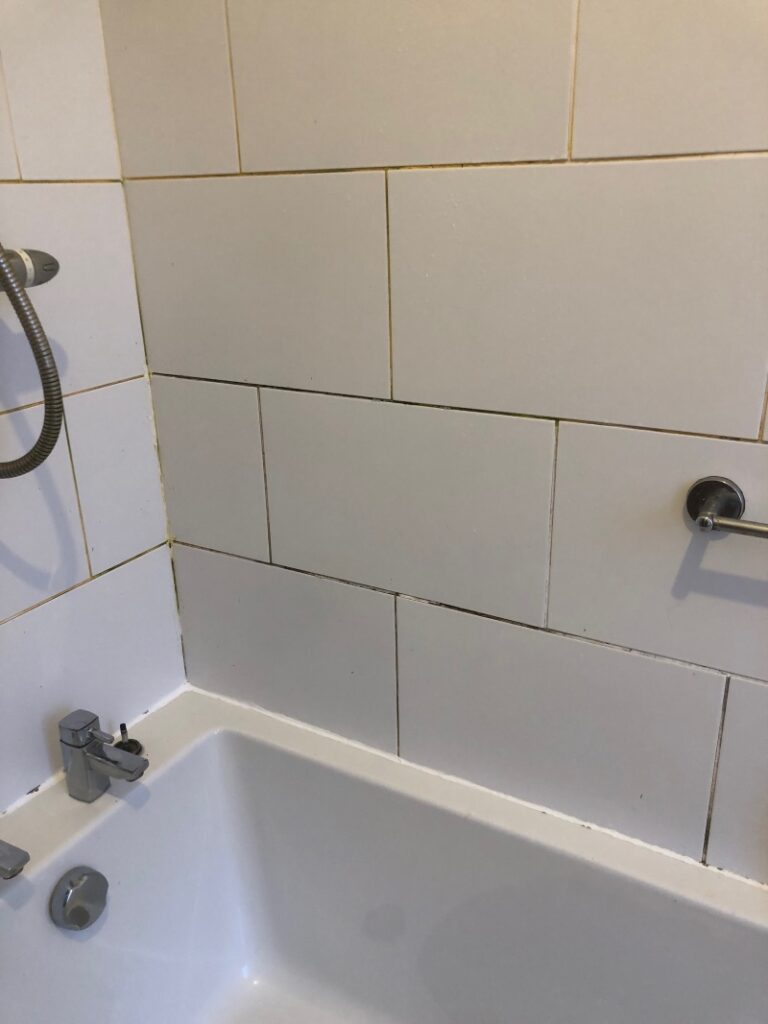
Bathroom Tile Grout Before Renovation Matlock Bath

I cleaned down a small area of grout and applied a small amount of Tile Doctor Grout recolour in White. Instantly the client could see how good the finish would be. He agreed my quotation and booked me in the following week to do the work.

Cleaning and Repairing the Grout in a Ceramic Tiled Bathroom

I started by raking out any areas of loose or cracked grout and cleaning up the resultant debris. I then replaced all the missing grout with Mapei’s fast setting waterproof grout in White and left to dry.

Once dry I turned my attention to the rest of the grout which had discoloured from the use of soaps etc. To tackle this, I sprayed on a 3:1 dilution of Tile Doctor Duo Clean and left it to work its magic for approximately ten to fifteen minutes. This was followed by scrubbing the stained grout lines with a stiff grout brush and also wiping over the Ceramic tiles to ensure they were equally clean. The whole area was then rinsed down with water and dried with a cotton cloth.

Next was to spray the same areas with Tile Doctor Grout Colourant Pre-Treater and re-scrub the grout joints again. This prepares the grout for the colouring fluid to achieve a superior bond. I rinsed again with clean water to remove all traces and after another wipe down with a dry cloth I left the area to dry and went for a cup of tea.

After my cuppa I began to strip the stained silicone around the bath ensuring all traces of mould or grime build up was wiped away using Tile Doctor Duo Clean sprayed onto a cloth.

Sealing the Grout in a Tiled Bathroom

Once this was complete the grout areas were dry, so I started the application of a Tile Doctor Grout Colourant in White. This is done using a small brush and literally painted on to all the joints including the newly grouted areas to ensure a consistent finish. The excess is wiped off the tile as you go along and after two coats of colourant the grout was looking bright and sparkling clean again.

I finished the job by reapplying new sealant between the tiles and the bath using a mould resistant sanitary silicone in White.
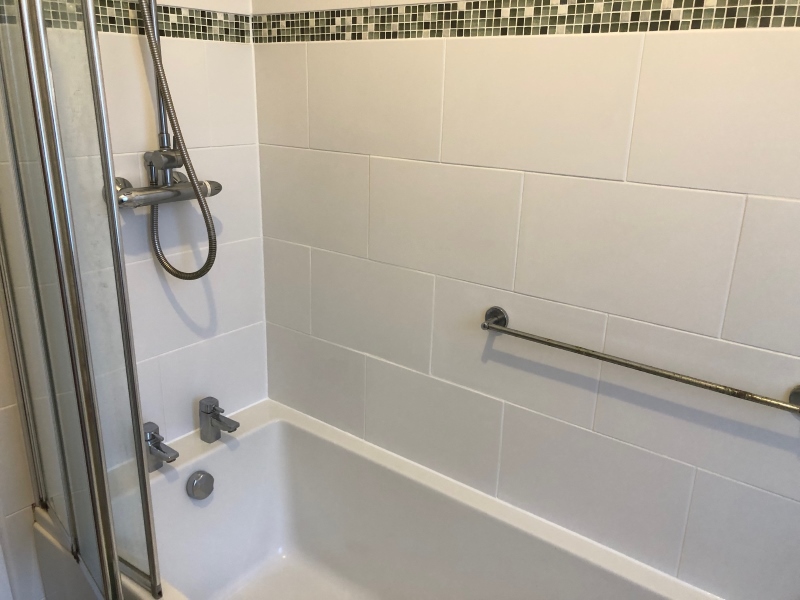
Bathroom Tile Grout After Renovation Matlock Bath

As you can see, the bathroom was transformed by the work, in fact it looked like a new installation. Needless to say my client was delighted. Another benefit of the rough grout Colourant is it adds a smooth barrier over the grout making it very easy to clean.

Bathroom Tile Grout After Renovation Matlock Bath


Professional Bathroom Tile and Grout Renovation in Derbyshire

Bathroom Grout Recolour, Repair and Silicone in Matlock Bath Read More »

End of Tenancy Bathroom Tile & Grout Cleaning in Swanwick Derbyshire

Ceramic Tiled Shower Cubicle Refreshed for new Tenants in Swanwick

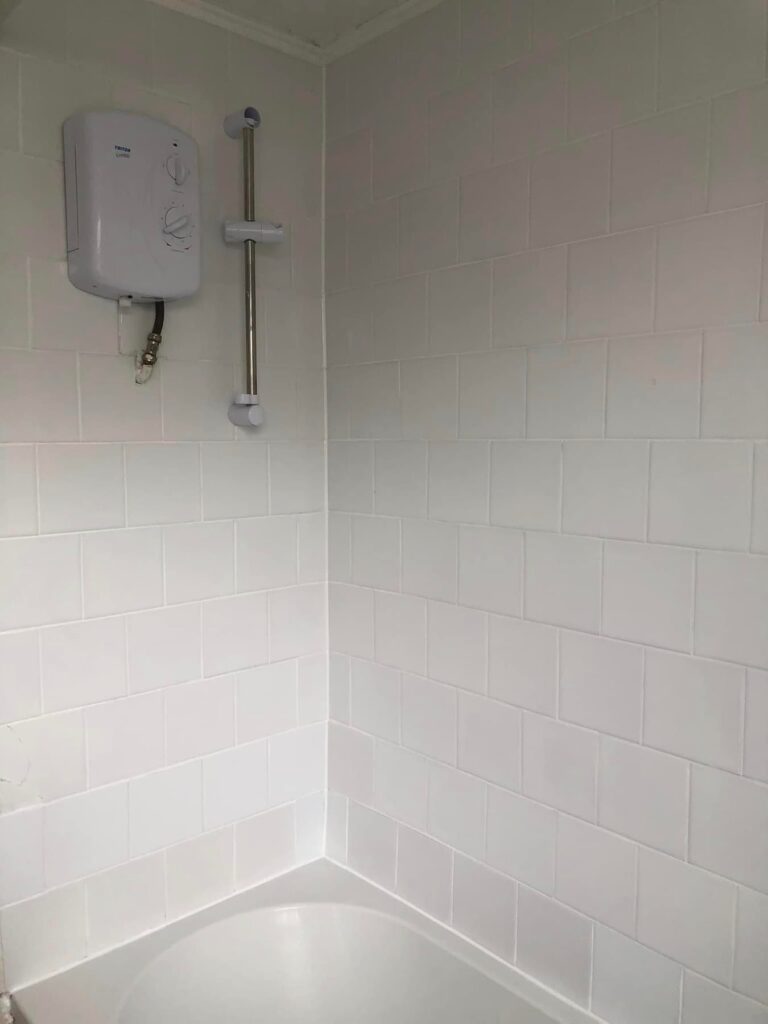
A private landlord got in touch recently to ask if there was anything that could be done to improve the tiles around the bath and shower in one of his rental properties in Swanwick just North of Ripley. There had been a long-term tenant living in the house who hadn’t maintained the area and as you can see from the photographs below the tiles were looking drab and the grout lines were heavily stained with grime, shampoo, and soap.

Ceramic Bathroom Wall Tiles Before Cleaning Swanwick Rental Property Derbyshire

When renting property out a property it makes a lot of sense to give a bathroom a facelift to ensure it’s more attractive to future tenants, not only will it rent faster but it should also command a better price, after all no-one wants to rent a place with grotty tiles!

I arranged to visit to they property to determine a plan of action and provide a quote for the work. Whilst there I carried out a test clean and was able to reassure the landlord that it wouldn’t be a problem and I was confident that the tile and grout could be renovated to a very high standard.

Ceramic Bathroom Wall Tiles Before Cleaning Swanwick Rental Property Derbyshire

Happy with the test clean and my quote my client gave the go ahead and asked for the work to be scheduled in ASAP so the search for a new tenant could begin.

Cleaning a Ceramic Tiled Shower Cubicle

I began by cleaning the grout lines with a generous application of Tile Doctor Duo Clean which is a fast and effective double action grout cleaner and mould remover. This product is designed for this purpose and comes with a trigger attachment so it can easily be sprayed onto the wall. The solution was then left for five minutes before being scrubbed into the wall tiles and grout with a scrubbing brush. This action brought out a lot of dirt and staining from the grout which was then rinsed off.

I then reviewed the wall tiles and concluded that even though they did look a lot cleaner there was some deep-seated staining in the grout that could not be shifted. I had planned for this though possibility though, given the original state of the grout it was clear to me from the start that the best solution would be to colour the grout with a White grout colourant and this had been factored into the quote.

For best results the grout needs to be further cleaned with a Pre-Treater which is a slightly acidic cleaner that prepares the grout and ensures a better bond with the colourant. This is applied to the grout and left for 5 minutes before being scrubbed in with the grout brush. It is then rinsed away with water and left to dry.

Before applying the grout colourant, I set about stripping out the silicone mastic sealant between the bathtub and wall tiles with a sharp knife; the sealant was heavily stained and damaged in places so very much in need of replacement. Once all the rubbish was swept out, I dried any remaining dampness from the grout and tiles.

Grout Colouring a Ceramic Tiled Shower Cubicle

This left the grout ready to be recoloured. I did this over the course of a few hours, using a White colourant from the Tile Doctor Grout Colourant range. White is just one of eleven colours available in the range and was chosen in this case to give the grout a really fresh look and to blend in with the White Ceramic tiles.

The application of Grout Colourant not only colours the grout joints – it also seals and rejuvenates them. It also dries quickly, so I could apply a second coat quite soon after the first, removing any excess as I went.

Once the restoration was finished, I resealed the shower base with fresh silicone mastic again in White to match the tile and grout. This last step finished the renovation and the result was quite a transformation.

Ceramic Bathroom Wall Tiles After Cleaning Swanwick Rental Property Derbyshire

The Landlord was delighted and so was the Letting Agent.

Ceramic Bathroom Wall Tiles After Cleaning Swanwick Rental Property Derbyshire


Ceramic Tiled Shower Cubicle Cleaning and Grout Recolouring in Derbyshire

Ceramic Tiled Shower Cubicle Refreshed for new Tenants in Swanwick Read More »

Grout Cleaning and Recolouring for a Stained Shower Cubicle in Ramsbottom

Grout Cleaning and Recolouring for a Stained Shower Cubicle in Ramsbottom

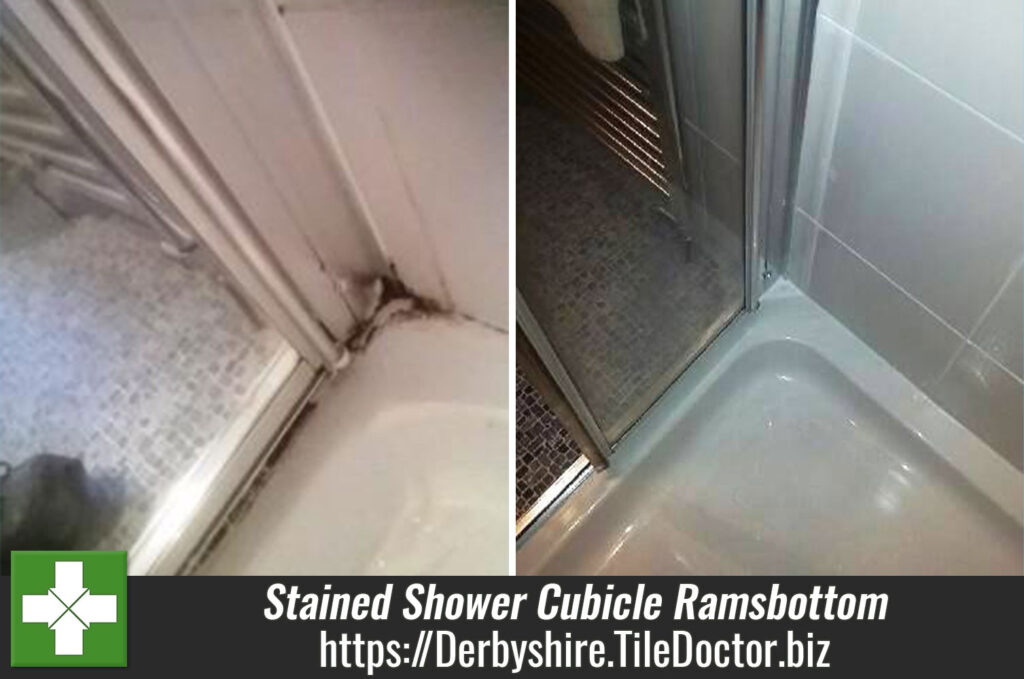
Many homeowners will be able to relate to this post about tiled shower cubicles which can become mouldy, grubby, and just plainly unappealing to look at. The reality is that dirt, mould, and stains can be quite easily removed with the right products if addressed on a regular basis. However, many busy homeowners simply don’t have the time, and subsequently the mould problems gradually worsen over time. This is what had happened at this property in Ramsbottom (a town known for its annual Chocolate Festival) – the customer’s Ceramic tiled shower cubicle had not been adequately cleaned in a long time, resulting in severe staining that would prove impossible to remove entirely.

Deep Cleaning a Shower Cubicle In Ramsbottom Before
When the customer contacted me after finding Tile Doctor over the internet, I suggested that I could provide the grout with the best clean possible before re-colouring the grout with a white Grout Colourant to hide the staining and it back to looking similar to its original condition. The customer agreed that this would be the best course of action, and booked me in to complete the work.

Deep Cleaning a Shower Cubicle In Ramsbottom Before

Cleaning Ceramic Tiled Shower Cubicle Grout

The first step in the restoration was to get the grout ready for the new Grout Colourant to be applied. This involved cleaning the grout with Tile Doctor Pre-Treat Cleaner, which successfully removed the various dirt, soil, soap scum and hard water deposits that had built up after plenty of exposure to acidic shampoos and soaps. Getting the grout joints clean allows the colourant to form a better bond with the grout.

The Pre-Treat Cleaner was sprayed onto the grout and left to dwell for roughly five minutes before being agitated with a grout brush. Next, I rinsed the grout with water and removed the old and mouldy silicone around the shower cubicle.

Colouring Grout and Siliconing for a Ceramic Tiled Shower Cubicle

After running tests I discovered a few damp issues, but these were quickly resolved with the help of my heat gun. With the grout now ready to be coloured, I applied two coats of Tile Doctor’s white Grout Colourant, allowing the first coat to dry before applying the second.

Deep Cleaning a Shower Cubicle In Ramsbottom After
The Grout Colourant is an epoxy-based product that seals and rejuvenates the grout, protecting it against future staining and making it easy to clean in the future. After completing the grout colouring I cleaned up the area – including removing any excess product – and then applied fresh silicone in a matching white around the base of the shower cubicle.

Deep Cleaning a Shower Cubicle In Ramsbottom After
As you can see from the photographs, the appearance of the shower cubicle was transformed by the new Colourant. My customer even left the following comment on the Tile Doctor feedback system:

“Tony was polite punctual and efficient. We are very happy with his work!”

Dirty and Stained Ceramic Tiled Shower Cubicle Restoration in Derbyshire

Grout Cleaning and Recolouring for a Stained Shower Cubicle in Ramsbottom Read More »

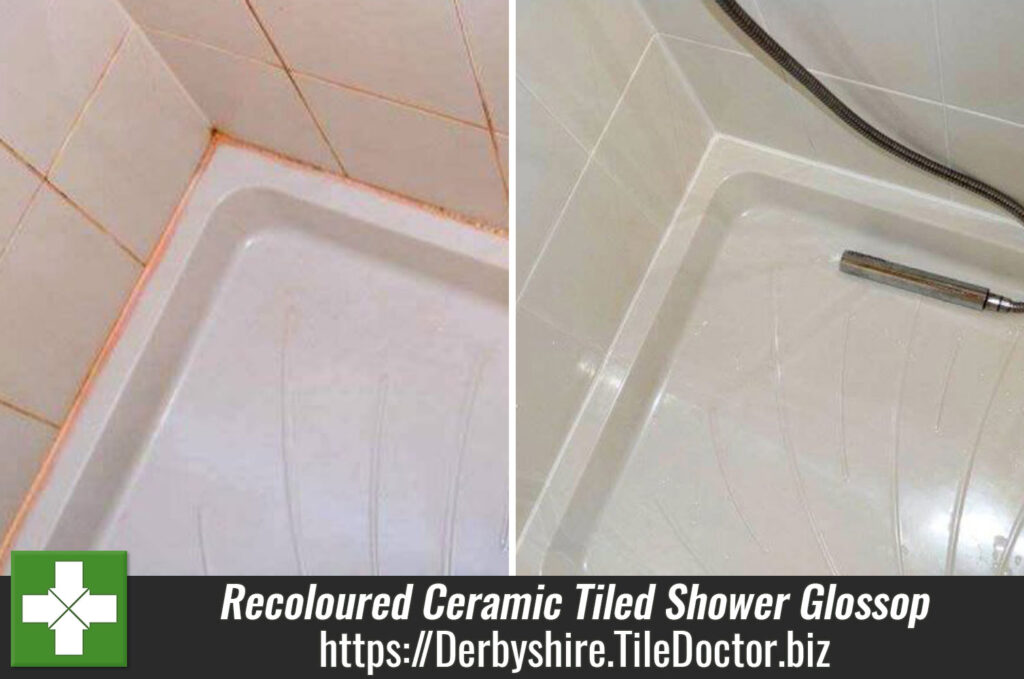
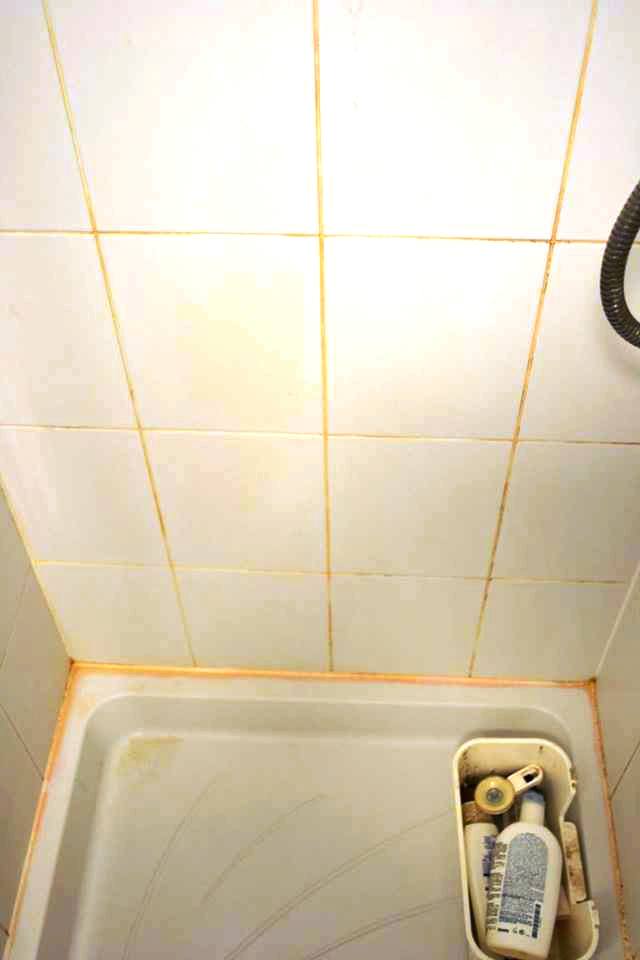
Ceramic Tiled Shower Cubicle Cleaned and Recoloured in Glossop

Ceramic Tiled Shower Cubicle Cleaned and Recoloured in Glossop

Keeping shower cubicles clean can be extremely tough, especially as they constantly come into contact with shampoos and soaps containing acids that can damage the tiles. This was the case with this Ceramic shower cubicle at a property in Glossop, a small town in the High Peak area of Derbyshire, famous for its buildings constructed of locally produced Sandstone.

The property owner had attempted to clean the cubicle tiles on a regular basis using supermarket standard cleaners, but had never achieved the results they had hoped for. While the owner might have been able to complete a basic clean, they weren’t able to provide the tiles with any long lasting protection and thus, after a few months, they reverted to a dire state. Looking for some professional help, the owner called me down to see what could be done to improve the condition of the cubicle long term.

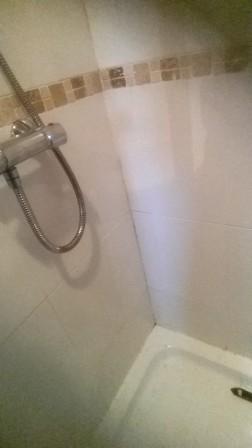
Shower Cubicle Before Restoration in Glossop

Cleaning a Dirty Ceramic Tiled Shower Cubicle

My main focus on cleaning the cubicle tiles was the grout, which was suffering from visible soap scum and soil build-up. I cleaned the grout firstly using Tile Doctor Grout Colourant Pre-Treat Cleaner, which successfully removes dirt, soil, soap scum and hard water deposits from grout joints.

Shower Cubicle Before Restoration in Glossop

The product was sprayed on to the grout and left to dwell and seep into the pores for approximately five minutes to break down the soap scum, before being scrubbed in using a grout brush. Following this, I rinsed the entire area with clean water and carefully removed the mouldy silicone around the shower cubicle.

Colouring and Siliconing a Ceramic Tiled Shower Cubicle

With the cleaning complete, my next task was to prepare the grout for colouring. To do this I completed a few damp tests on the grout and in the areas where I detected excess moisture I applied my heat gun to evaporate it. With the area dry, I recoloured the grout by applying two coats of the Tile Doctor Grout Colourant. This is an epoxy based paint that rejuvenated the appearance of the grout and sealed it, making it easier to clean in the future, and therefore resolving the customer’s cleaning difficulties.

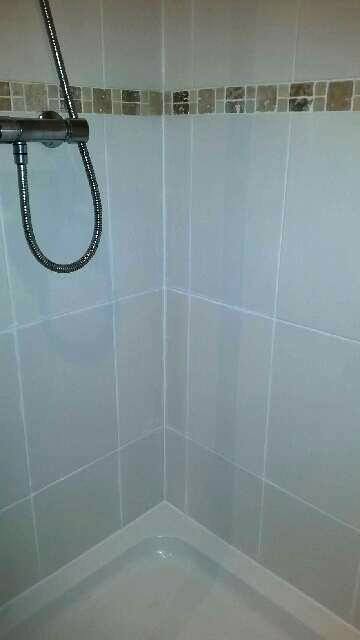
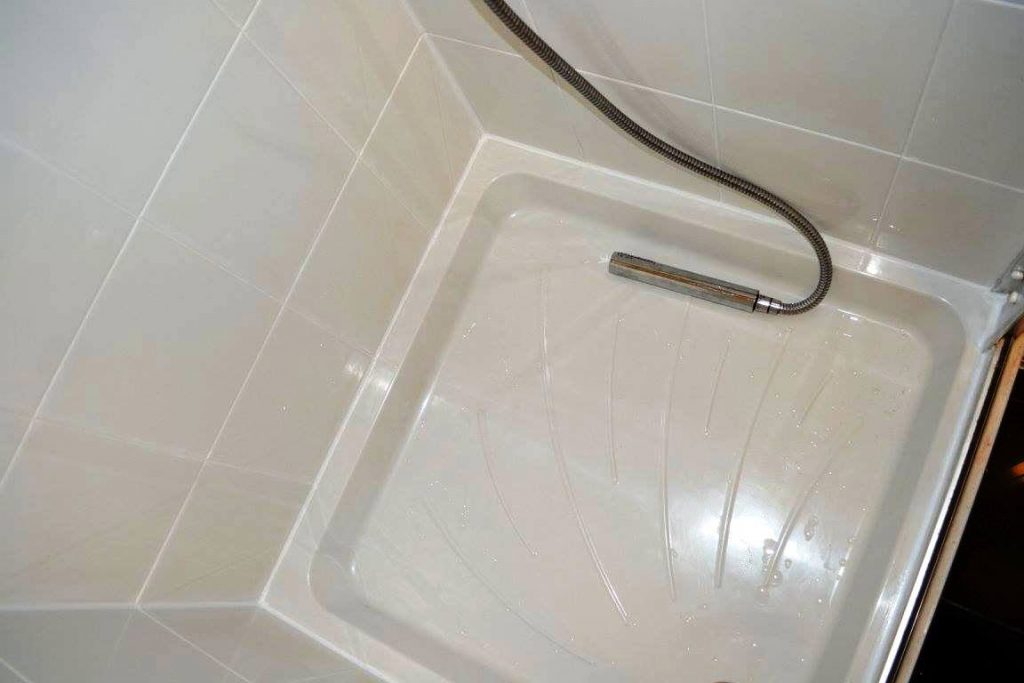
Shower Cubicle After Restoration in Glossop

After colouring the grout, I cleared the area and then siliconed all around the shower cubicle using high quality anti-mould silicone designed to last for several years to come. Once the restoration was finished, I advised the customer to start rinsing the
shower cubicle walls with clean water after every shower to get remove of all the acids produced by shampoos and soaps. This will keep the shower cubicle fresh by preventing the buildup of soap scum.

Shower Cubicle After Restoration in Glossop 14882
Shower Cubicle After Restoration in Glossop

The customer was surprised how good the outcome of the restoration was, especially considering that she previously had so much trouble getting the shower cubicle clean. Some pleased was she with the work that she said she and her partner will recommend me to all of their friends.

Professional Grout Cleaning and Colouring of a Dirty Ceramic Tiled Shower Cubicle Derbyshire

Ceramic Tiled Shower Cubicle Cleaned and Recoloured in Glossop Read More »

=================================

Derbyshire Tile Doctor

================================= Read More »

Scroll to Top