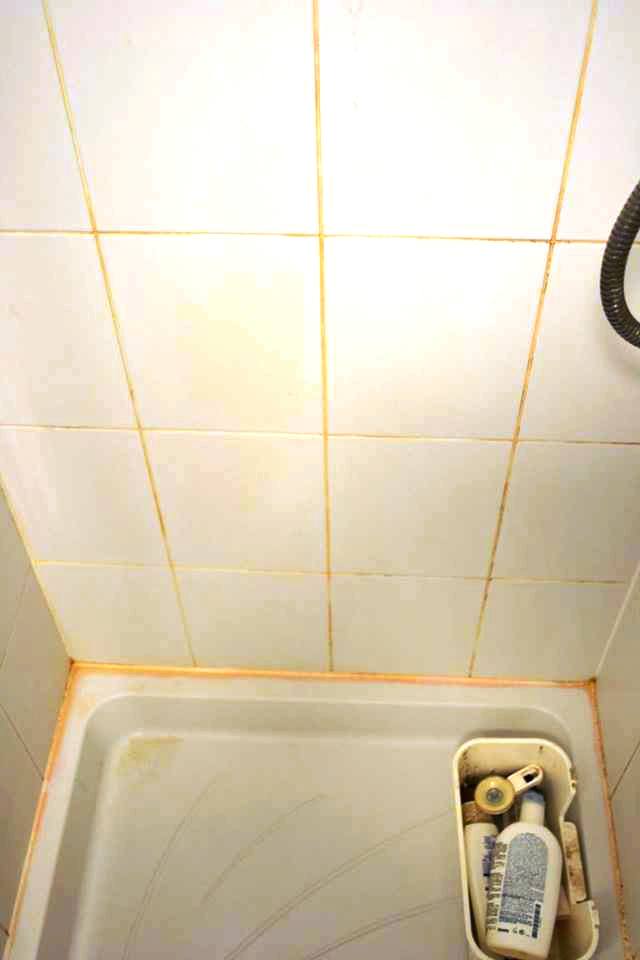
Keeping shower cubicles clean can be extremely tough, especially as they constantly come into contact with shampoos and soaps containing acids that can damage the tiles. This was the case with this Ceramic shower cubicle at a property in Glossop, a small town in the High Peak area of Derbyshire, famous for its buildings constructed of locally produced Sandstone.
The property owner had attempted to clean the cubicle tiles on a regular basis using supermarket standard cleaners, but had never achieved the results they had hoped for. While the owner might have been able to complete a basic clean, they weren’t able to provide the tiles with any long lasting protection and thus, after a few months, they reverted to a dire state. Looking for some professional help, the owner called me down to see what could be done to improve the condition of the cubicle long term.

Cleaning a Dirty Ceramic Tiled Shower Cubicle
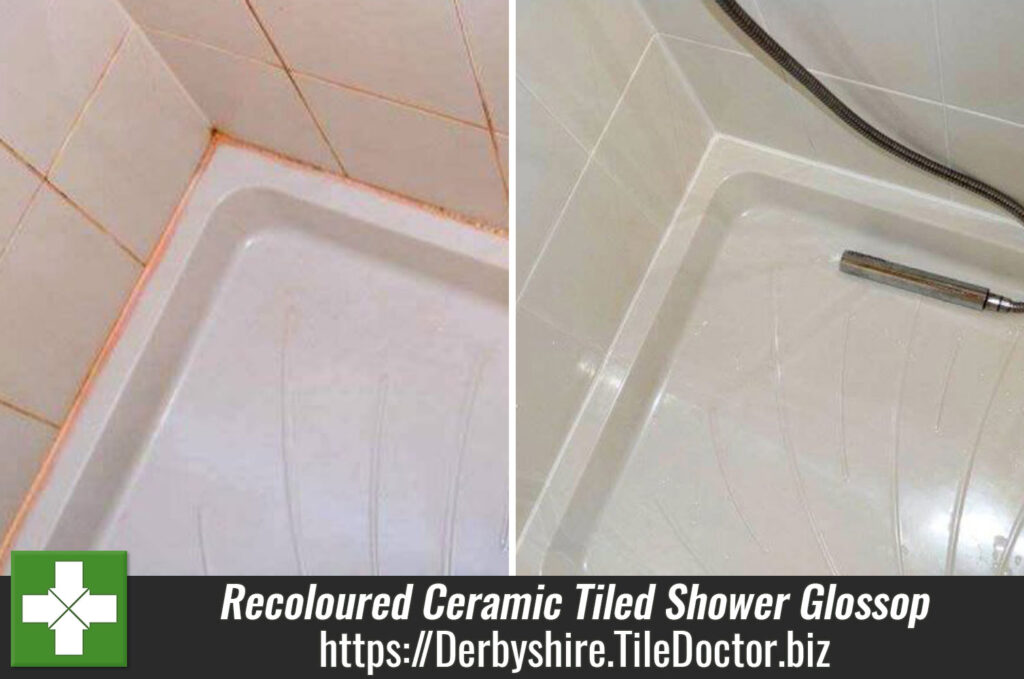
My main focus on cleaning the cubicle tiles was the grout, which was suffering from visible soap scum and soil build-up. I cleaned the grout firstly using Tile Doctor Grout Colourant Pre-Treat Cleaner, which successfully removes dirt, soil, soap scum and hard water deposits from grout joints.

The product was sprayed on to the grout and left to dwell and seep into the pores for approximately five minutes to break down the soap scum, before being scrubbed in using a grout brush. Following this, I rinsed the entire area with clean water and carefully removed the mouldy silicone around the shower cubicle.
Colouring and Siliconing a Ceramic Tiled Shower Cubicle
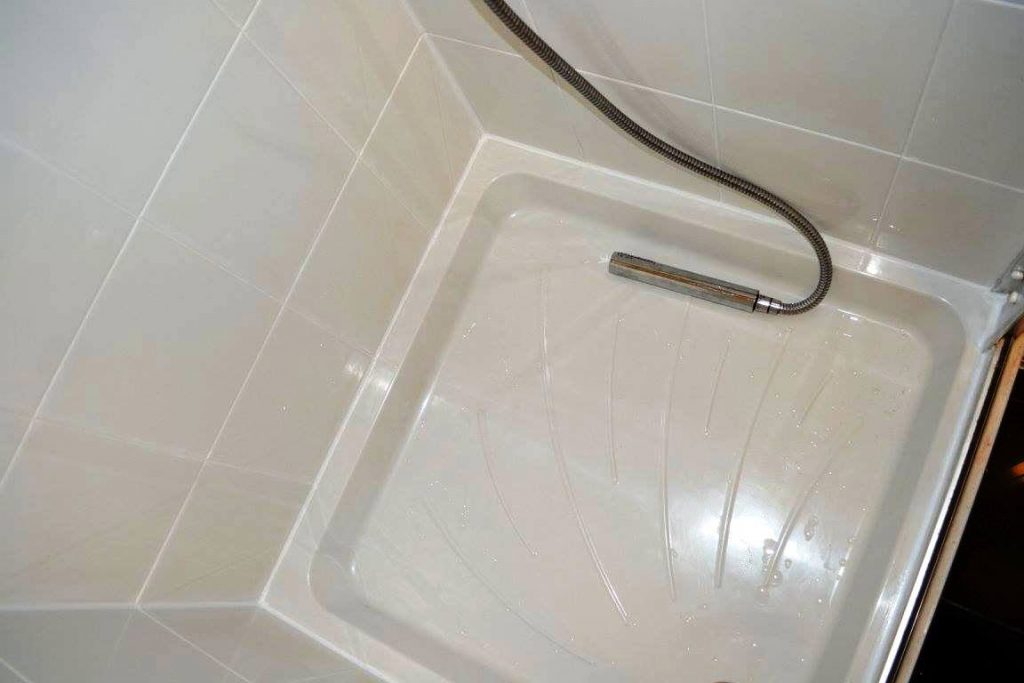
With the cleaning complete, my next task was to prepare the grout for colouring. To do this I completed a few damp tests on the grout and in the areas where I detected excess moisture I applied my heat gun to evaporate it. With the area dry, I recoloured the grout by applying two coats of the Tile Doctor Grout Colourant. This is an epoxy based paint that rejuvenated the appearance of the grout and sealed it, making it easier to clean in the future, and therefore resolving the customer’s cleaning difficulties.

After colouring the grout, I cleared the area and then siliconed all around the shower cubicle using high quality anti-mould silicone designed to last for several years to come. Once the restoration was finished, I advised the customer to start rinsing the
shower cubicle walls with clean water after every shower to get remove of all the acids produced by shampoos and soaps. This will keep the shower cubicle fresh by preventing the buildup of soap scum.

The customer was surprised how good the outcome of the restoration was, especially considering that she previously had so much trouble getting the shower cubicle clean. Some pleased was she with the work that she said she and her partner will recommend me to all of their friends.
